Design your first cabinet in ten minutes
KWAL Cabinet Studio puts a lot on one screen: a 3D view in the middle, a stack of sections on the left, drawings and lists on the right. This walkthrough goes through it once, in the order that actually works. Follow along in your browser — guest mode is free, needs no account and no installation.
The screen in one look
Three zones, and it helps to name them before you touch anything.
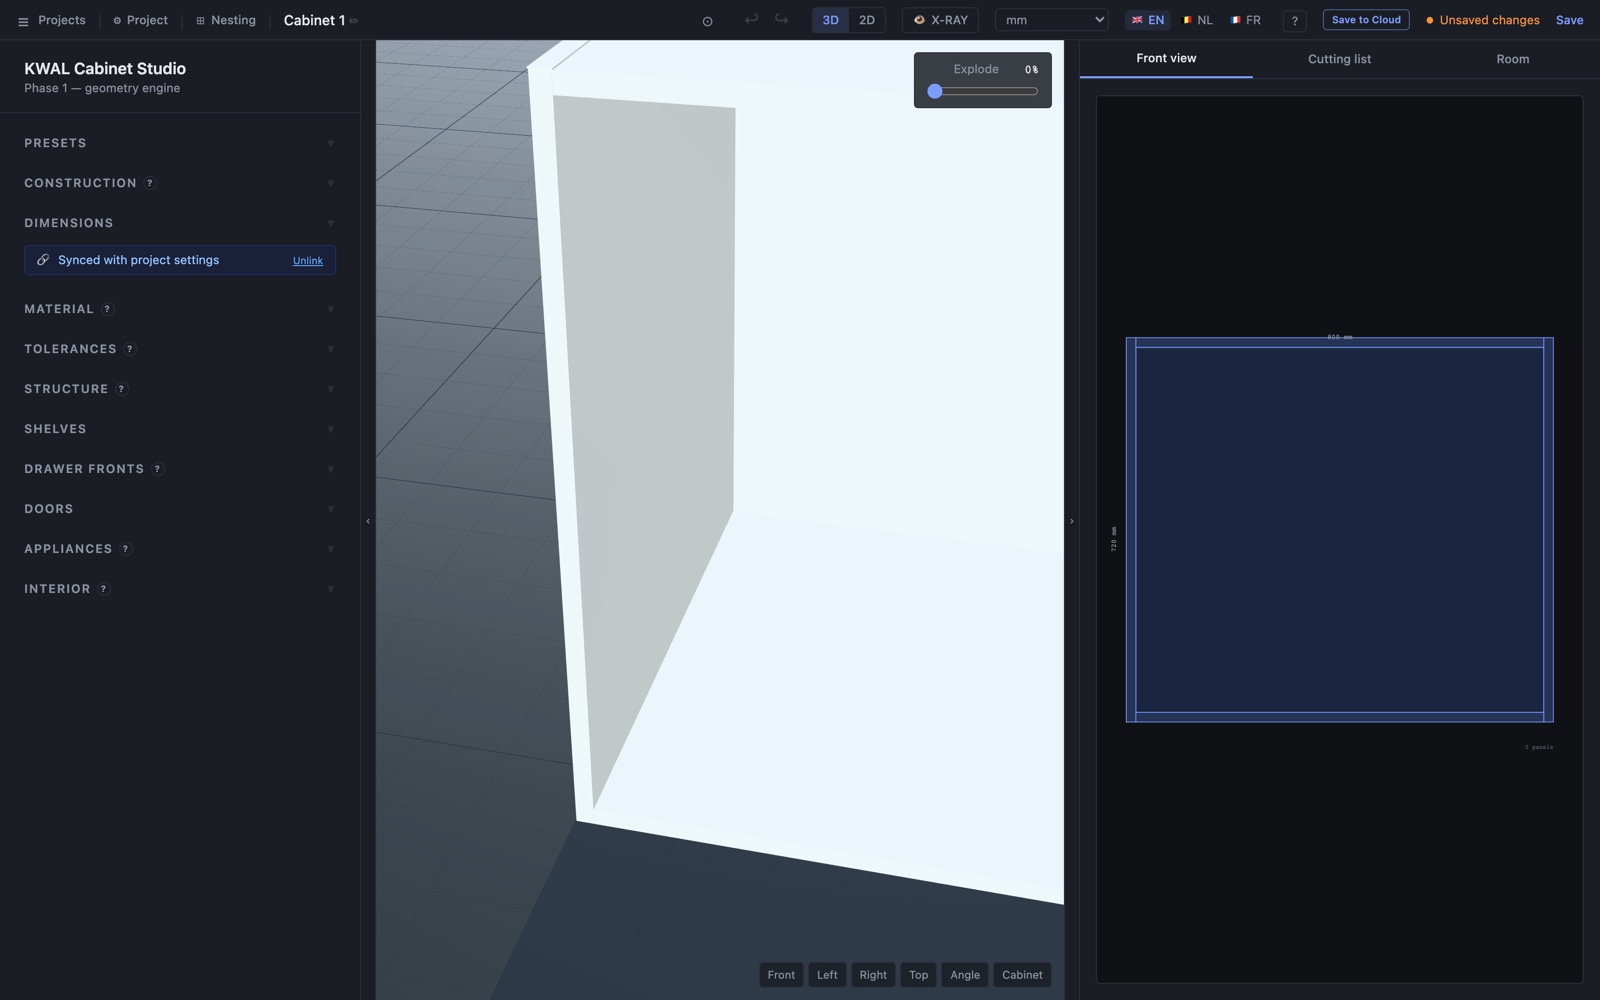
Left is the configurator: collapsed sections, from construction and dimensions down to doors and appliances. Open one at a time; they stay out of your way otherwise. Middle is the live 3D model, with camera buttons at the bottom. Right holds three tabs: the front view with dimensions, the cut list, and the room. Everything updates as you type — there is no "regenerate" button anywhere.
On your first visit a short guided tour points these zones out for you; this guide is the longer version of the same story. You can restart the tour at any time from the ? menu in the top bar.
Step 1 — Millimetres or inches
First thing, top bar: pick the unit system you actually work in. Millimetres, decimal inches, or fractional inches down to 1/16".

On your first visit the app guesses from your browser language, so an American visitor lands in fractional inches. You can switch at any moment and nothing breaks: the model is stored in one unit internally and only the display changes.
Step 2 — Start from a preset, not an empty box
This is the step that saves the most time, and the one most people miss. Open Presets at the top of the left panel and pick a starting point: a kitchen base unit, a wall unit, a dressing column or a tall storage cabinet.
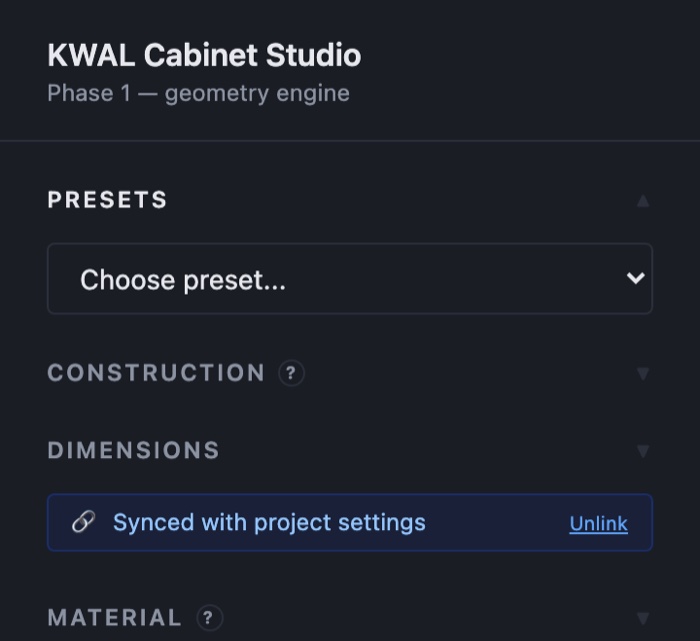
You immediately get a real cabinet — plinth, drawer, door, shelf — instead of a bare box. From there you are adjusting something that already works, which is a much shorter road than building it up part by part.
Step 3 — Make it your size
Open Dimensions and set width, height and depth. Height includes the plinth: it is the total height of the finished cabinet, floor to top.
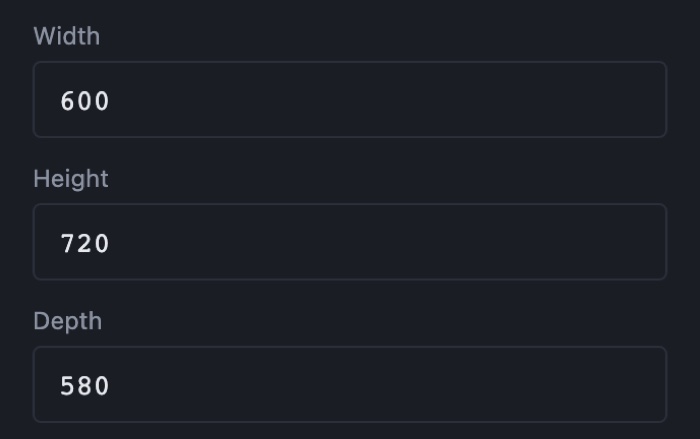
Two things worth knowing. You can type a calculation straight into any dimension field — 638+600 or 1900/3 — and the studio works it out. And fields commit when you press Enter or click away, not on every keystroke, so a half-typed number never reshapes your cabinet.
Step 4 — Fill it in: shelves, drawers, doors
Further down the left panel sit Shelves, Drawer fronts and Doors. Add a shelf and give it a height from the cabinet floor. Add drawer fronts and the door adjusts to start above them. In Doors you pick the model — flat, shaker or raised — and whether it is a routed front or a true frame-and-panel construction.
Everything here is a parameter, not a drawing. Change the cabinet width afterwards and the shelf, the door and the drawer box follow, including the hinge count and the bore positions.
Step 5 — Read the amber warnings
Sooner or later something collides: a shelf in the way of an appliance niche, a door zone that no longer fits. The studio will not silently resize your design. It tells you, in amber, exactly what is wrong and leaves the decision to you.
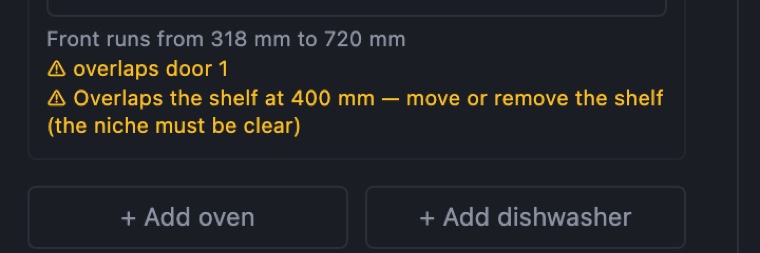
That is a deliberate choice. Software that quietly "fixes" a conflict produces a cut list that no longer matches what you had in mind, and you only find out at the panel saw.
Step 6 — The front view and the cut list
On the right, switch between Front view — the elevation with dimension chains — and Cutting list, where every part of the cabinet is listed with its role, quantity, finish size, saw size and edge banding per edge.
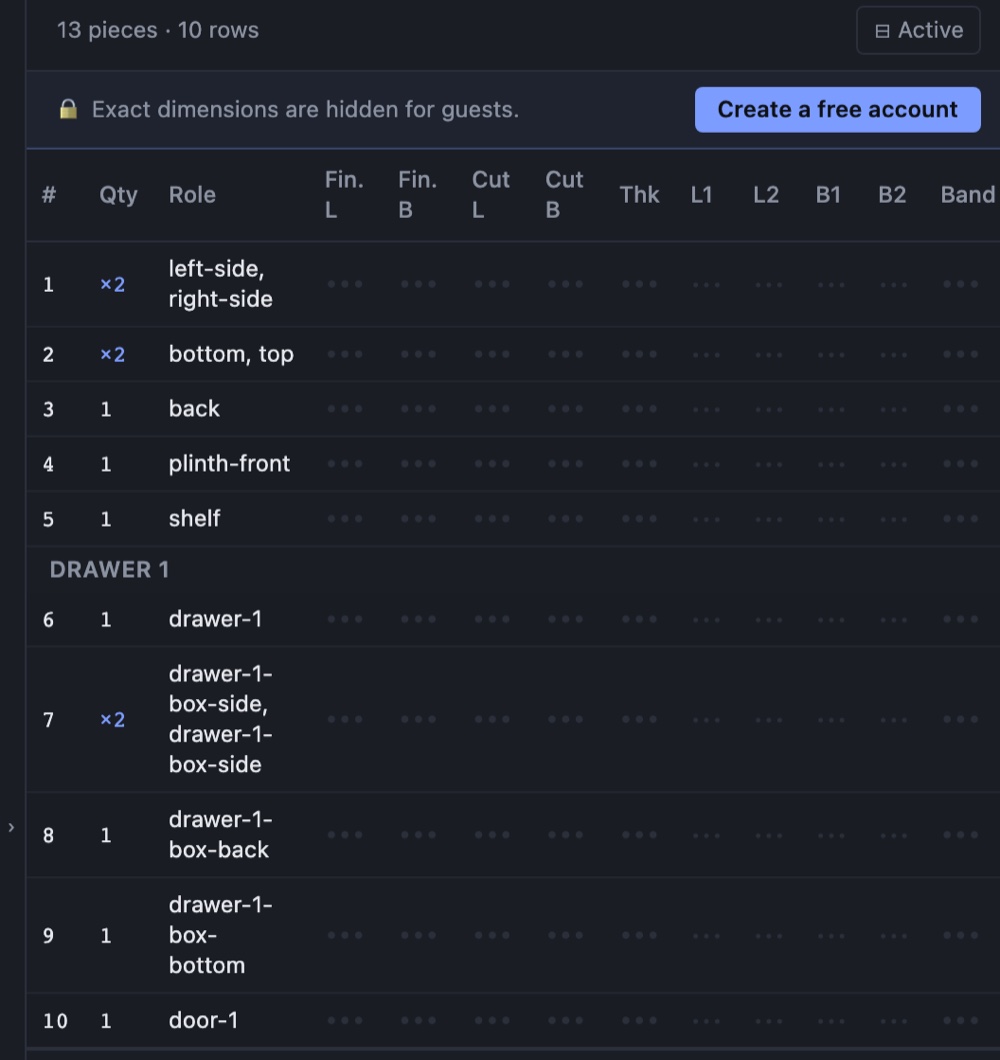
Be aware of the guest limit here: you can see which parts a design produces and how many, but the exact millimetres are hidden until you create an account. The account is free — it is the export that costs a credit, not the number.
Step 7 — Export: the preview is free
Open Nesting in the top bar for the sheet layout and the bill of materials across the whole project: how many sheets per material and thickness, and how much waste.
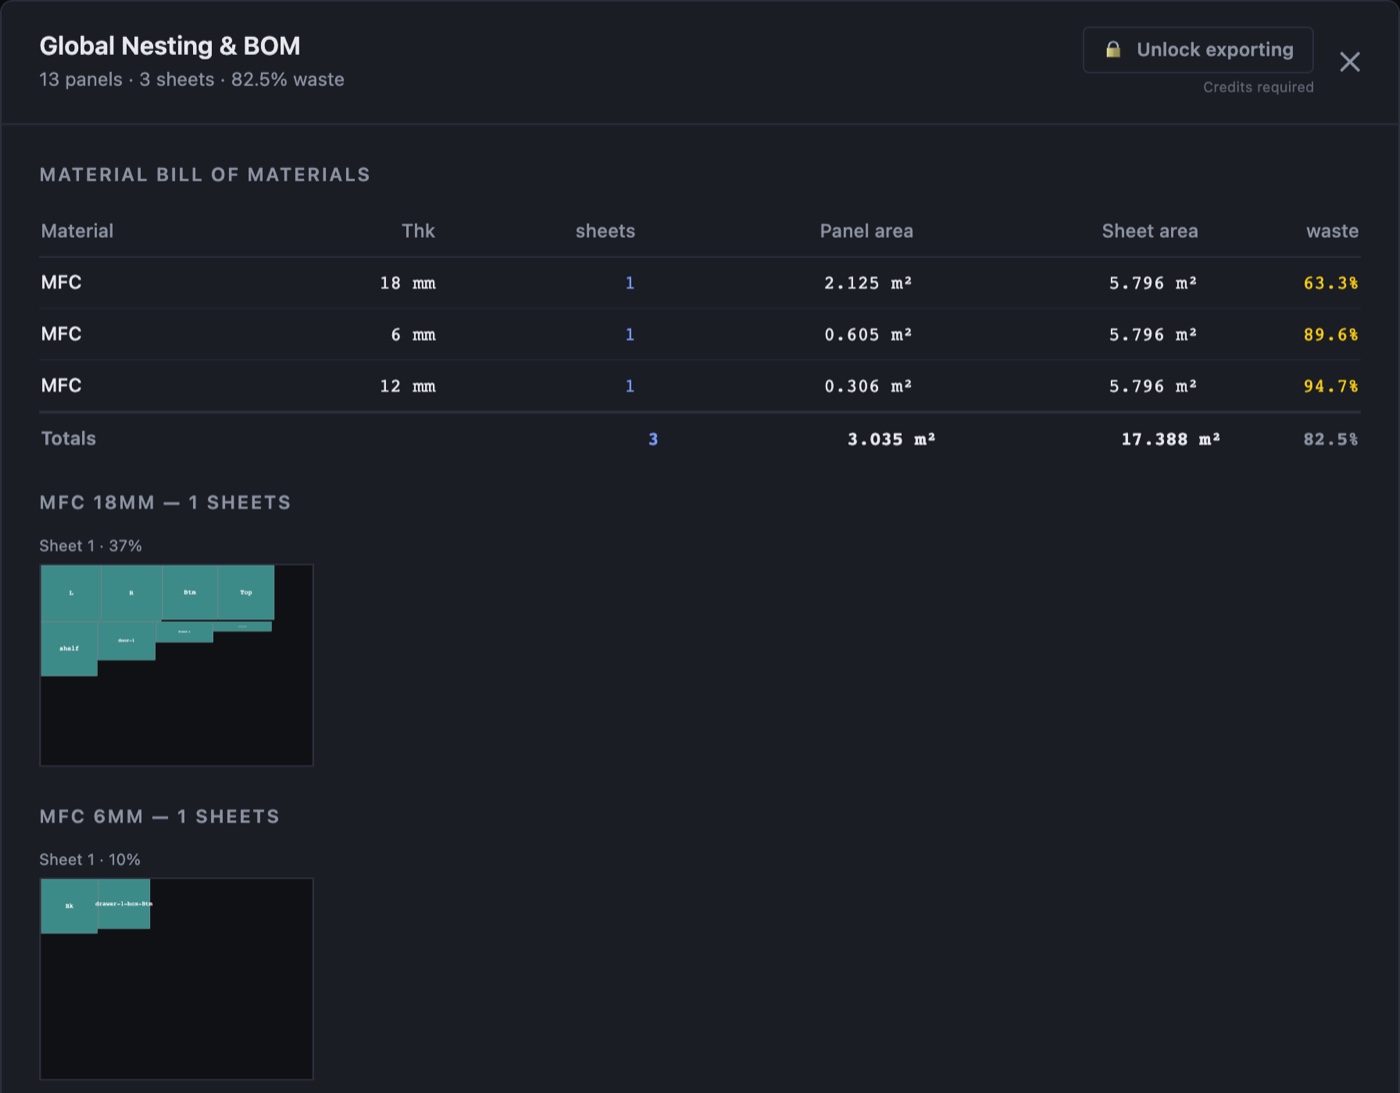
From here you export: a CSV cut list, CNC-ready DXF files, the multi-page PDF dossier and the customer quote. You always get a free preview of the complete package first — a credit is only charged when you download. And within five days you get two free re-exports of the same project, for when a dimension turns out to be wrong after all.
What comes next
One cabinet is the beginning. In the Room tab you place several cabinets along the walls, snap them into an L-corner, run a continuous worktop over them and drop in appliances — oven, dishwasher, hob, sink, hood, fridge column. You can give the room its real floor, walls, windows and doors, and the studio warns you when a cabinet blocks a door swing.
With a price list of your own, the same model also produces a cost estimate and a customer-ready quote PDF in your house style. And do create that free account before you close the tab: guest work lives only in your browser, while an account keeps your projects across devices.